VS200 Running ASW v3.3 (Draft & incomplete)
To be replaced with VS200 Running ASW v3.4.1
Note instructions in green are for fluorescence and can
be skipped for transmitted light imaging
Power Up:
- VS200 (green button),
- Xylis (green box) - fluorescence light source,
- Orca-Fusion Camera (do gently and do
not rotate camera) - B/W camera for fluorescence
- Note: Even if just transmitted light (brightfield,
chromogenic) imaging is being carried out the fluorescence lamp and b/w
camera must be turned on otherwise the software will not permit any
scanning.
Check Antivibration table - should be 3 to 7 mm between top of metal ring and
bottom to rubber ring at each leg. Adjust red knobs 1/8th of a turn and
wait ~30 seconds and then recheck gap.
Start VS200 software
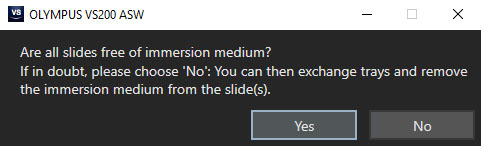 'Yes' to continue with trays already
loaded
'Yes' to continue with trays already
loaded
'No' to swap trays now or clean immersion oil
- 'No' - swap trays then 'Lock Door'
- Insert trays gently to back and push to left.
Also should see
white slide bars where there are
slides in the tray
- Hit 'Lock Door'
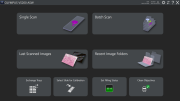 Pre
Scan Screen
Pre
Scan Screen
- Single Scan
- Batch Scan
- Exchange Trays
- Clean Objectives
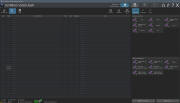
Batch Scan
-
Select
Tray(s) & Slides for scanning
-
 Choose
Brightfield | Fluorescence | Special
Choose
Brightfield | Fluorescence | Special
- Brightfield
- Special
- Fluorescence
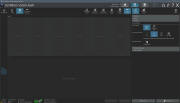
- Tray View (Can skip to 'Gallery View')
- Choose trays to scan with 'Define Batch Content'
- Optionally use 'Include All in Scan' if all trays are
yours |
'Exclude All from Scan'
- Toggle trays on/off by holding control-key and left
mouse clicking on tray
- 'Confirm' (on bottom right)
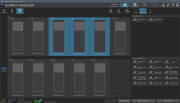
- Gallery View
- Choose slides to scan:
- 'Define Batch Content'
- 'Select All' (if all trays are yours) or
- Choose slides to exclude or include with 'Define Batch Content' - hold
control-key + left click with mouse -
- 'Confirm' (on bottom
right)
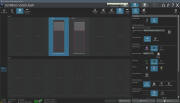
- Selected slide appear white or blue for the currently
loaded slide
- Can scroll to other trays with the mouse wheel
- Apply projects by
-
 Select
slide with left-mouse click and hit a project
Select
slide with left-mouse click and hit a project
- &/or Select multiple slides with control-key +
left-mouse-click, select ranges with left mouse click,
hold-shift, click on last slide on desired range
- Once selected click on "Brightfield" or "Fluorescence"
or "Special" as required
- Choose a 'Project'
- (Note - selecting, deselecting is just like doing file
selections in Windows "My Computer" or "Explorer" using left
mouse clicks and combinations of the 'control-key' & 'shit-key')
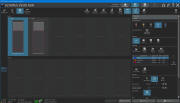
-
 Edit
Scan Settings
Edit
Scan Settings
- +Overview (suggested setting - In this example Fluorescence is
chosen. Adapt settings as appropriate ):
- 'Identical Settings' (for this example all slides will assigned
with same parameters from selected 'Project' initially)
- Overview mode - 'Expert' (customized scan settings)
- 'Scan Label'
- 'Fluorescence' (Note can do overview with transmitted for
fluorescent samples)
- 'Observation method' choose one with a percentage (Do not use
ones with no percentage since will give irreproducible exposures)
- 'Objective' 4x is more robust for fluorescence than the dimmer
2x
- 'Focus Mode' -
suggest 'No Focusing' or 'Quick Focus'
- 'Exposure Mode:'
- 'Manual Exposure'
- 'Start Live'
- 'Histogram'
- 'Auto Contrast' (really display brightness)
- Suggest 'Right' 1 (1%) - hit enter (Displays image
brighter so that can see cells and ignore bright spots. If
no bright spots 0.1 or even 0.01 may be OK)
- 'Manual Exposure'
- 'Start Live'
- Set focus manually or try 'AF autofocus'
- Check that 'Max:' is very roughly ~5000 to ~30,000
counts.
- Adjust 'Exposure Time' (avoid having spurious
bright spots in the field of view)
-
 +Detail
- Choose objective
- Z-planes - 'normal'
- Channels
- First channel is used for focusing
- Select 'Channel Name' with a percentage only
- 'Exposure mode:' manual
- Do 'Start live' and check exposures
in 'Histogram'
- Choose channel #1
- Adjust 'Exposure time:' so that 'Max:' is ~5000 to
~30,000 counts
- Focus - reduce exposure if intensity is
>30,000
- Repeat for other channels ~2000 to ~30,000 counts
- Find region on slide with brightest intensity and repeat
adjustment of exposure time if too bright
- 'Stop live'
-
 +Focusing
- 'Prefocus'
- 'Focus position density' - try 'Normal'
- 'Non-sample region'
- Try
 off (works well if tissue is well detected)
- or 'Include in Scan' on if tissue is not completely detected
(below after Overview scans)
- Don't use 'Include in focusing' since trying to focus on
nothing will generally fail
-
 +Naming
and Saving
+Naming
and Saving
- 'Image name:' choose 'Image_<Slide Name>' or '<Slide
Name>'
- 'Save to Disk'
- 'Directory:' choose your directory on the D: drive
- +Slide Properties'
- 'Slide Name' - enter descriptive name which will be use to
create file name for each slide
- (Hint - take a smart phone shot of tray before loading into
hotel)
- Do this in order of first slide of tray to last slide of last
tray (There seems to be a bug in the software where not following
this order causes the entered 'Slide Name' to not be assigned with
the correct slide)
- 'Start Scan'
- Overview at 2x (or 4x or 10x if available) is made
- On each slide do
-
 Image
- brightens image for user view (does not change data)
Image
- brightens image for user view (does not change data)
- Scan Areas
- 'Sample Detection' - greenish is detected tissue
- 'Sample Detection sensitivity:' - adjust 1 step at a time.
Allow ~3 seconds (or ~12 seconds if 'Non-colored sample
detection weight' is non zero)
- 'Non-colored sample detection weight' - trial and error
although 0% is often good
- If tissue is not fully detected then turn on
- Focus Map
- Focus squares ideally contain >50% tissue
- Run
- It is OK to zoom into images while scans are in progress. Double click
on the image. Hit the "Scan" tab to go back to scanning screen.
- When done hit the 'Home' button on lower right
 Pre
Scan Screen
Pre
Scan Screen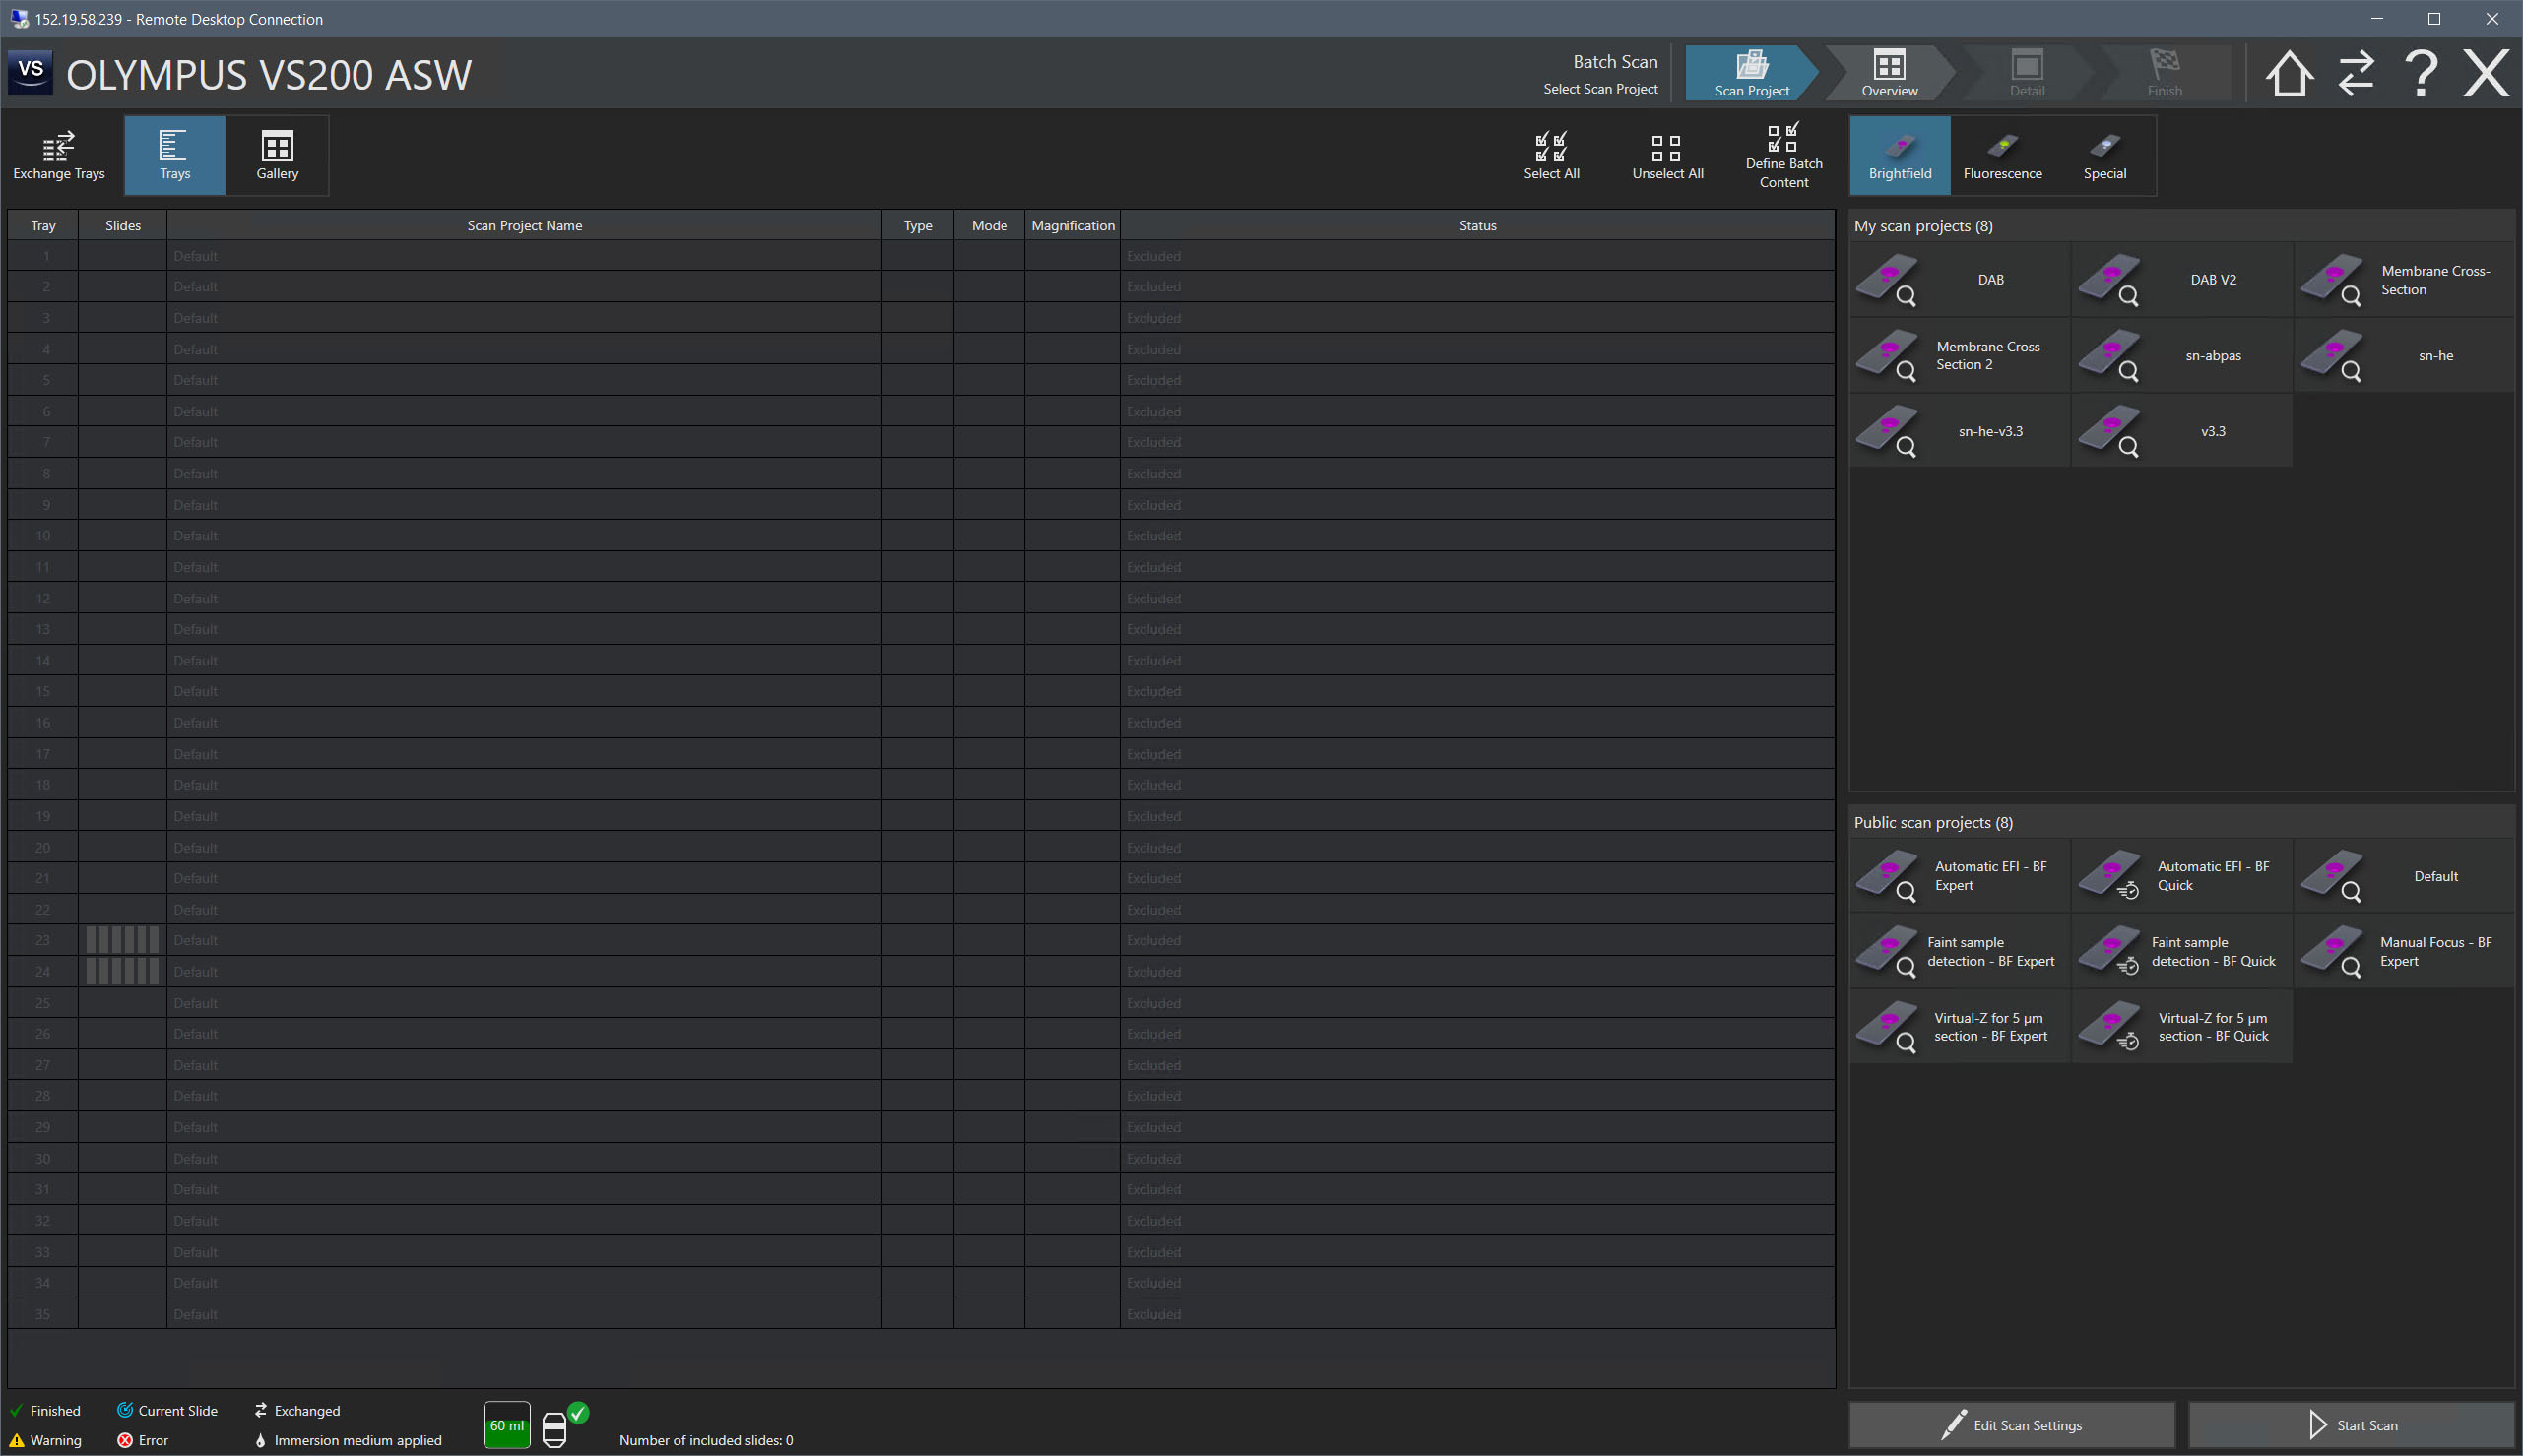 Choose
Brightfield | Fluorescence | Special
Choose
Brightfield | Fluorescence | Special Select
slide with left-mouse click and hit a project
Select
slide with left-mouse click and hit a project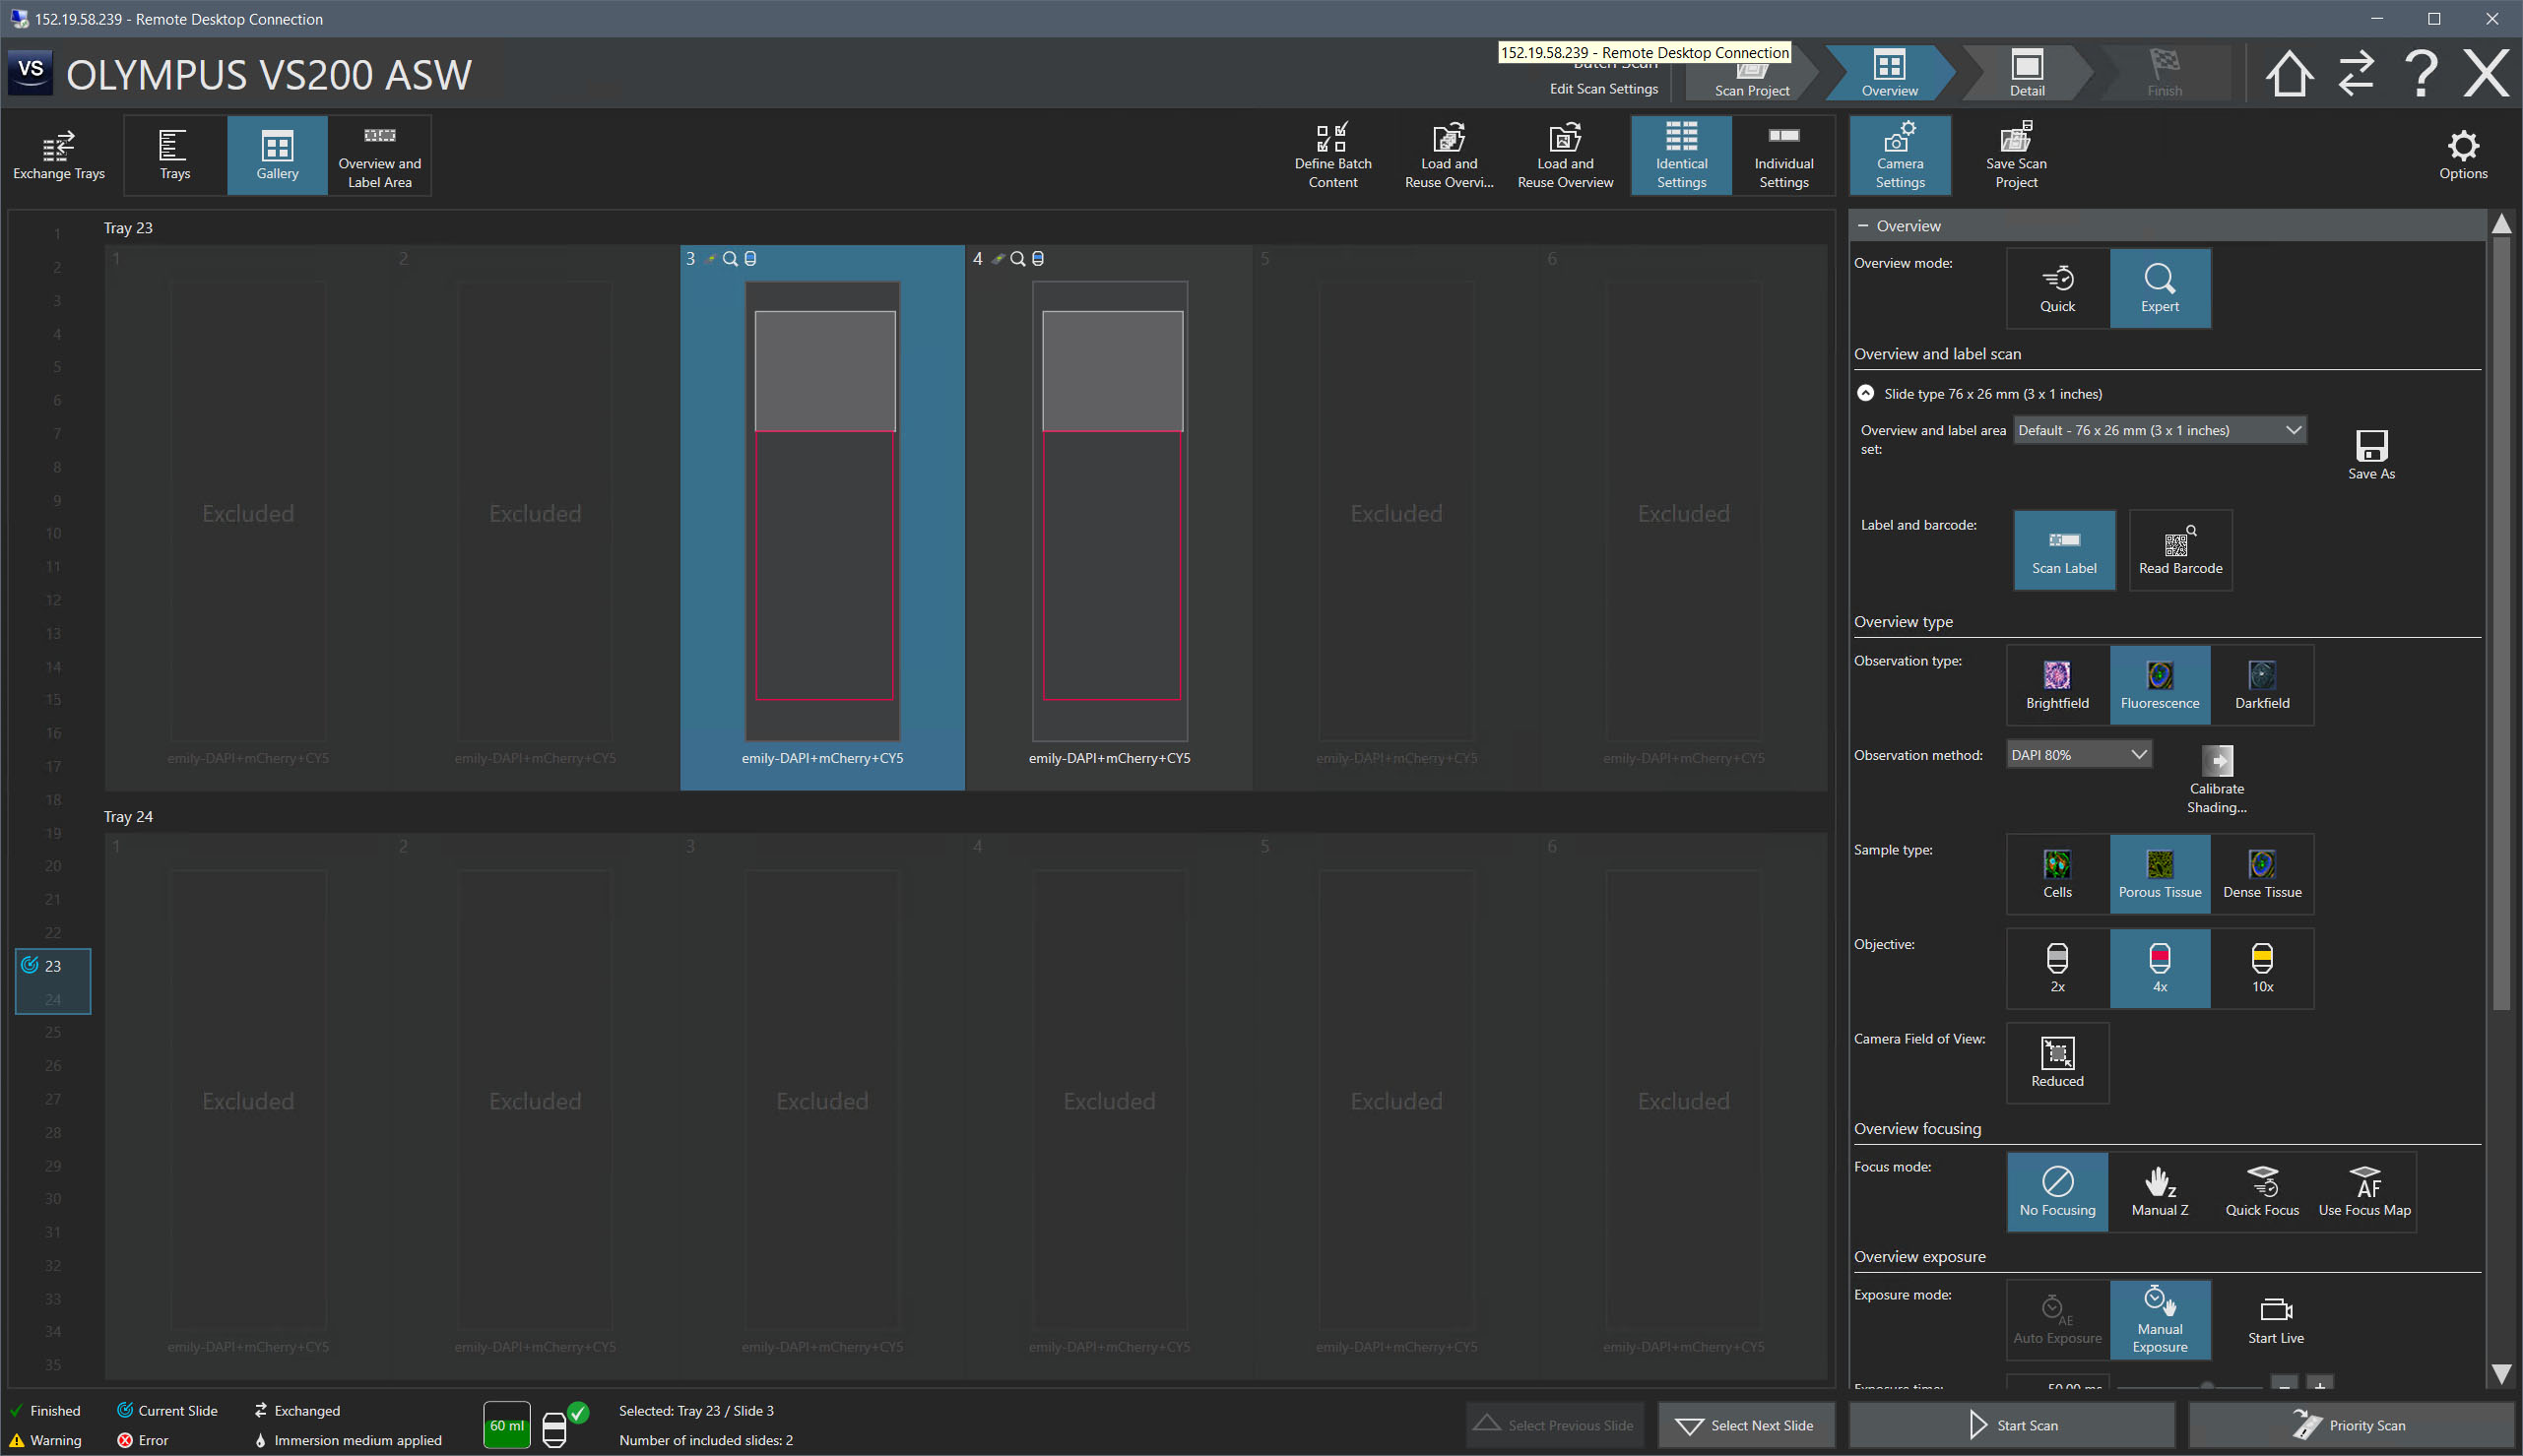 Edit
Scan Settings
Edit
Scan Settings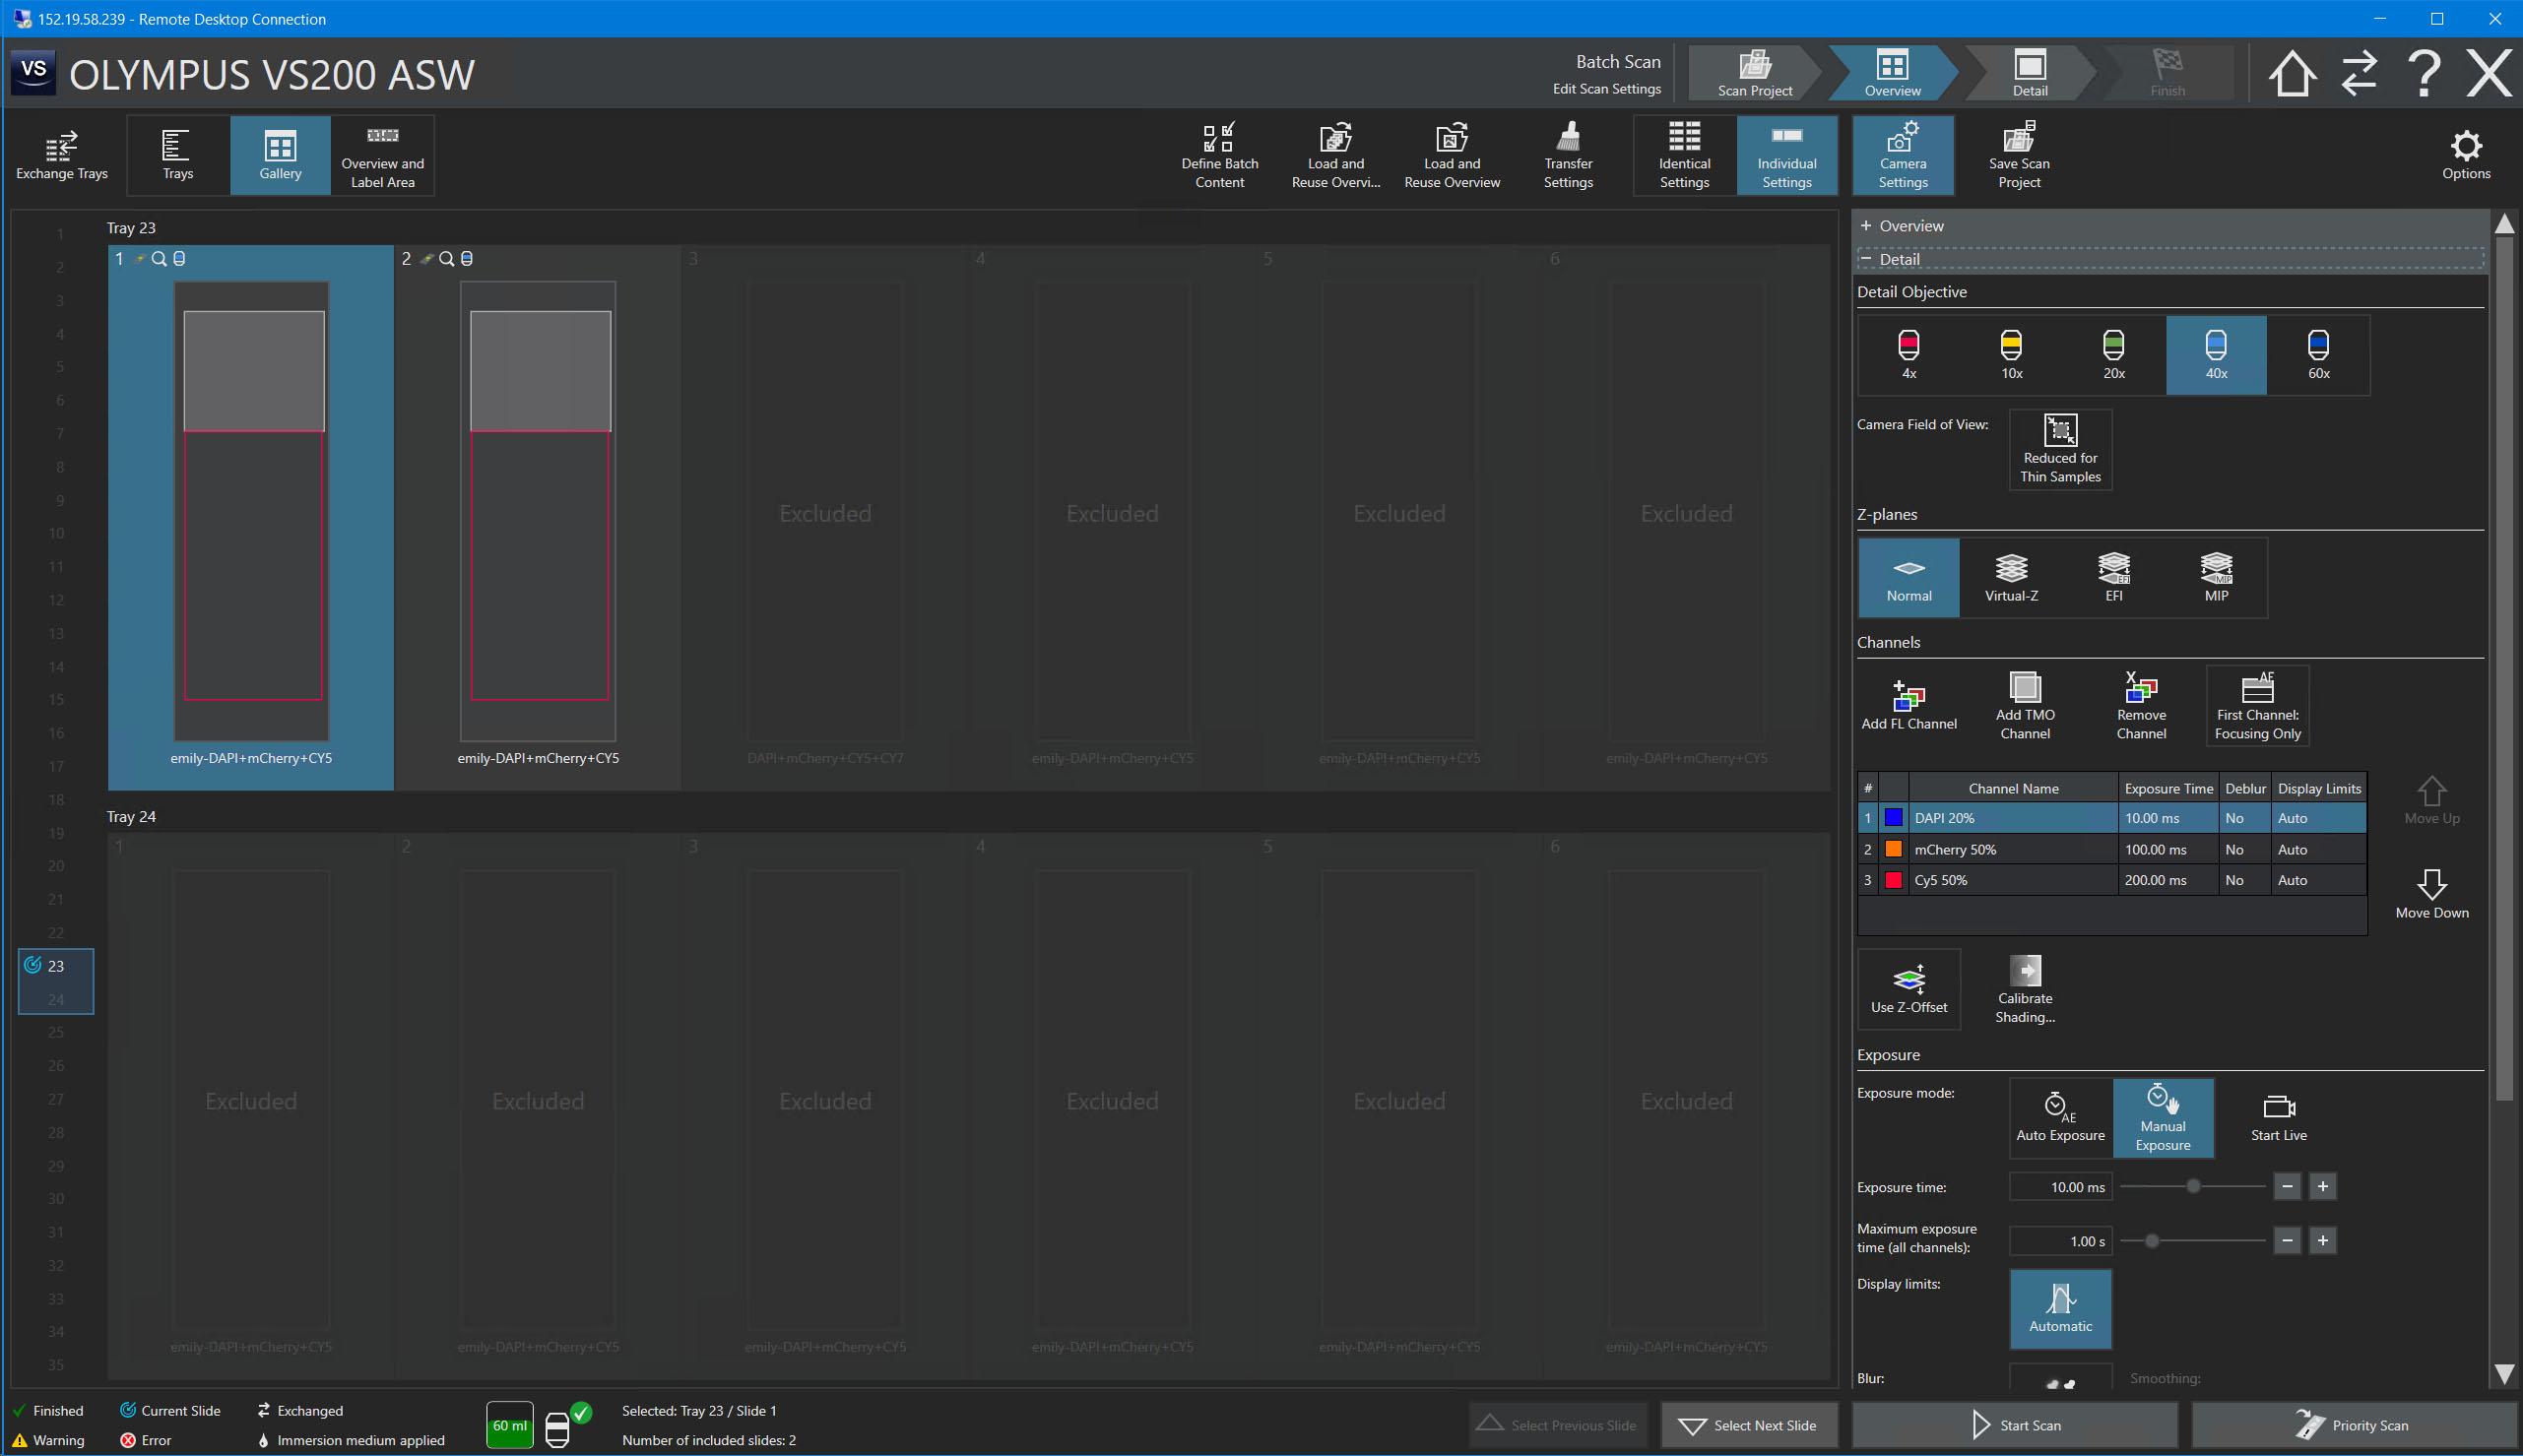 +Detail
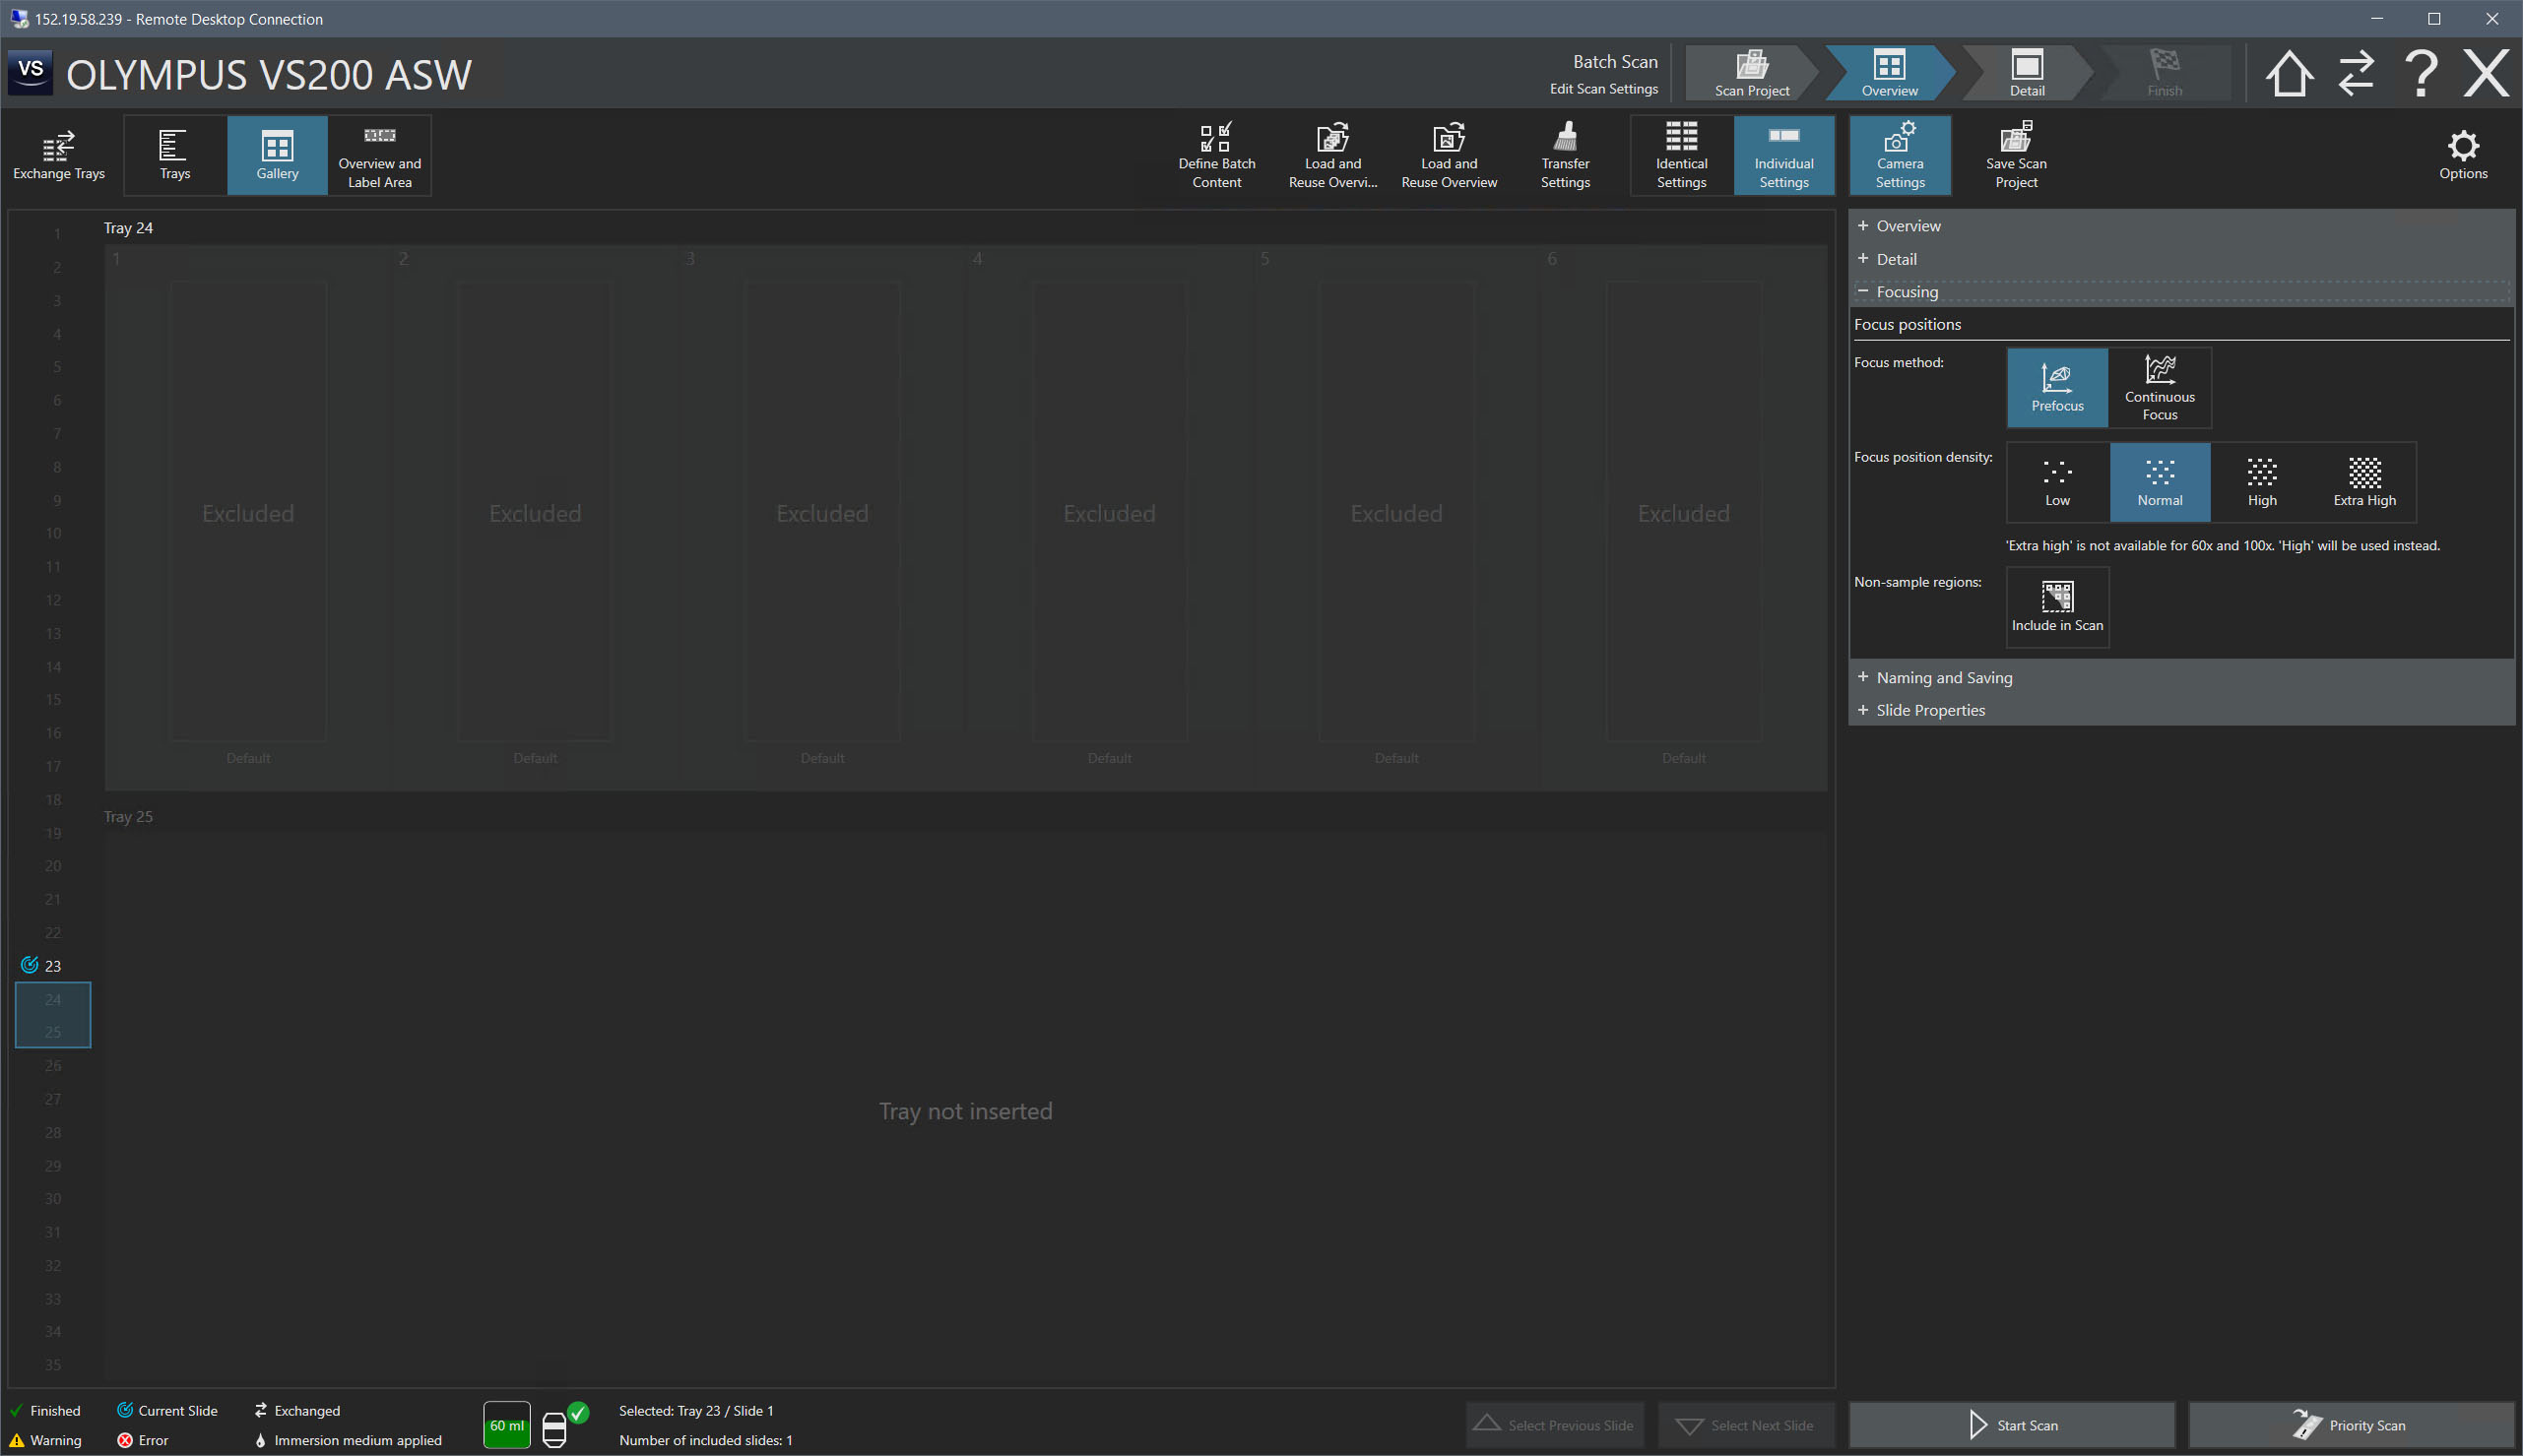 +Focusing
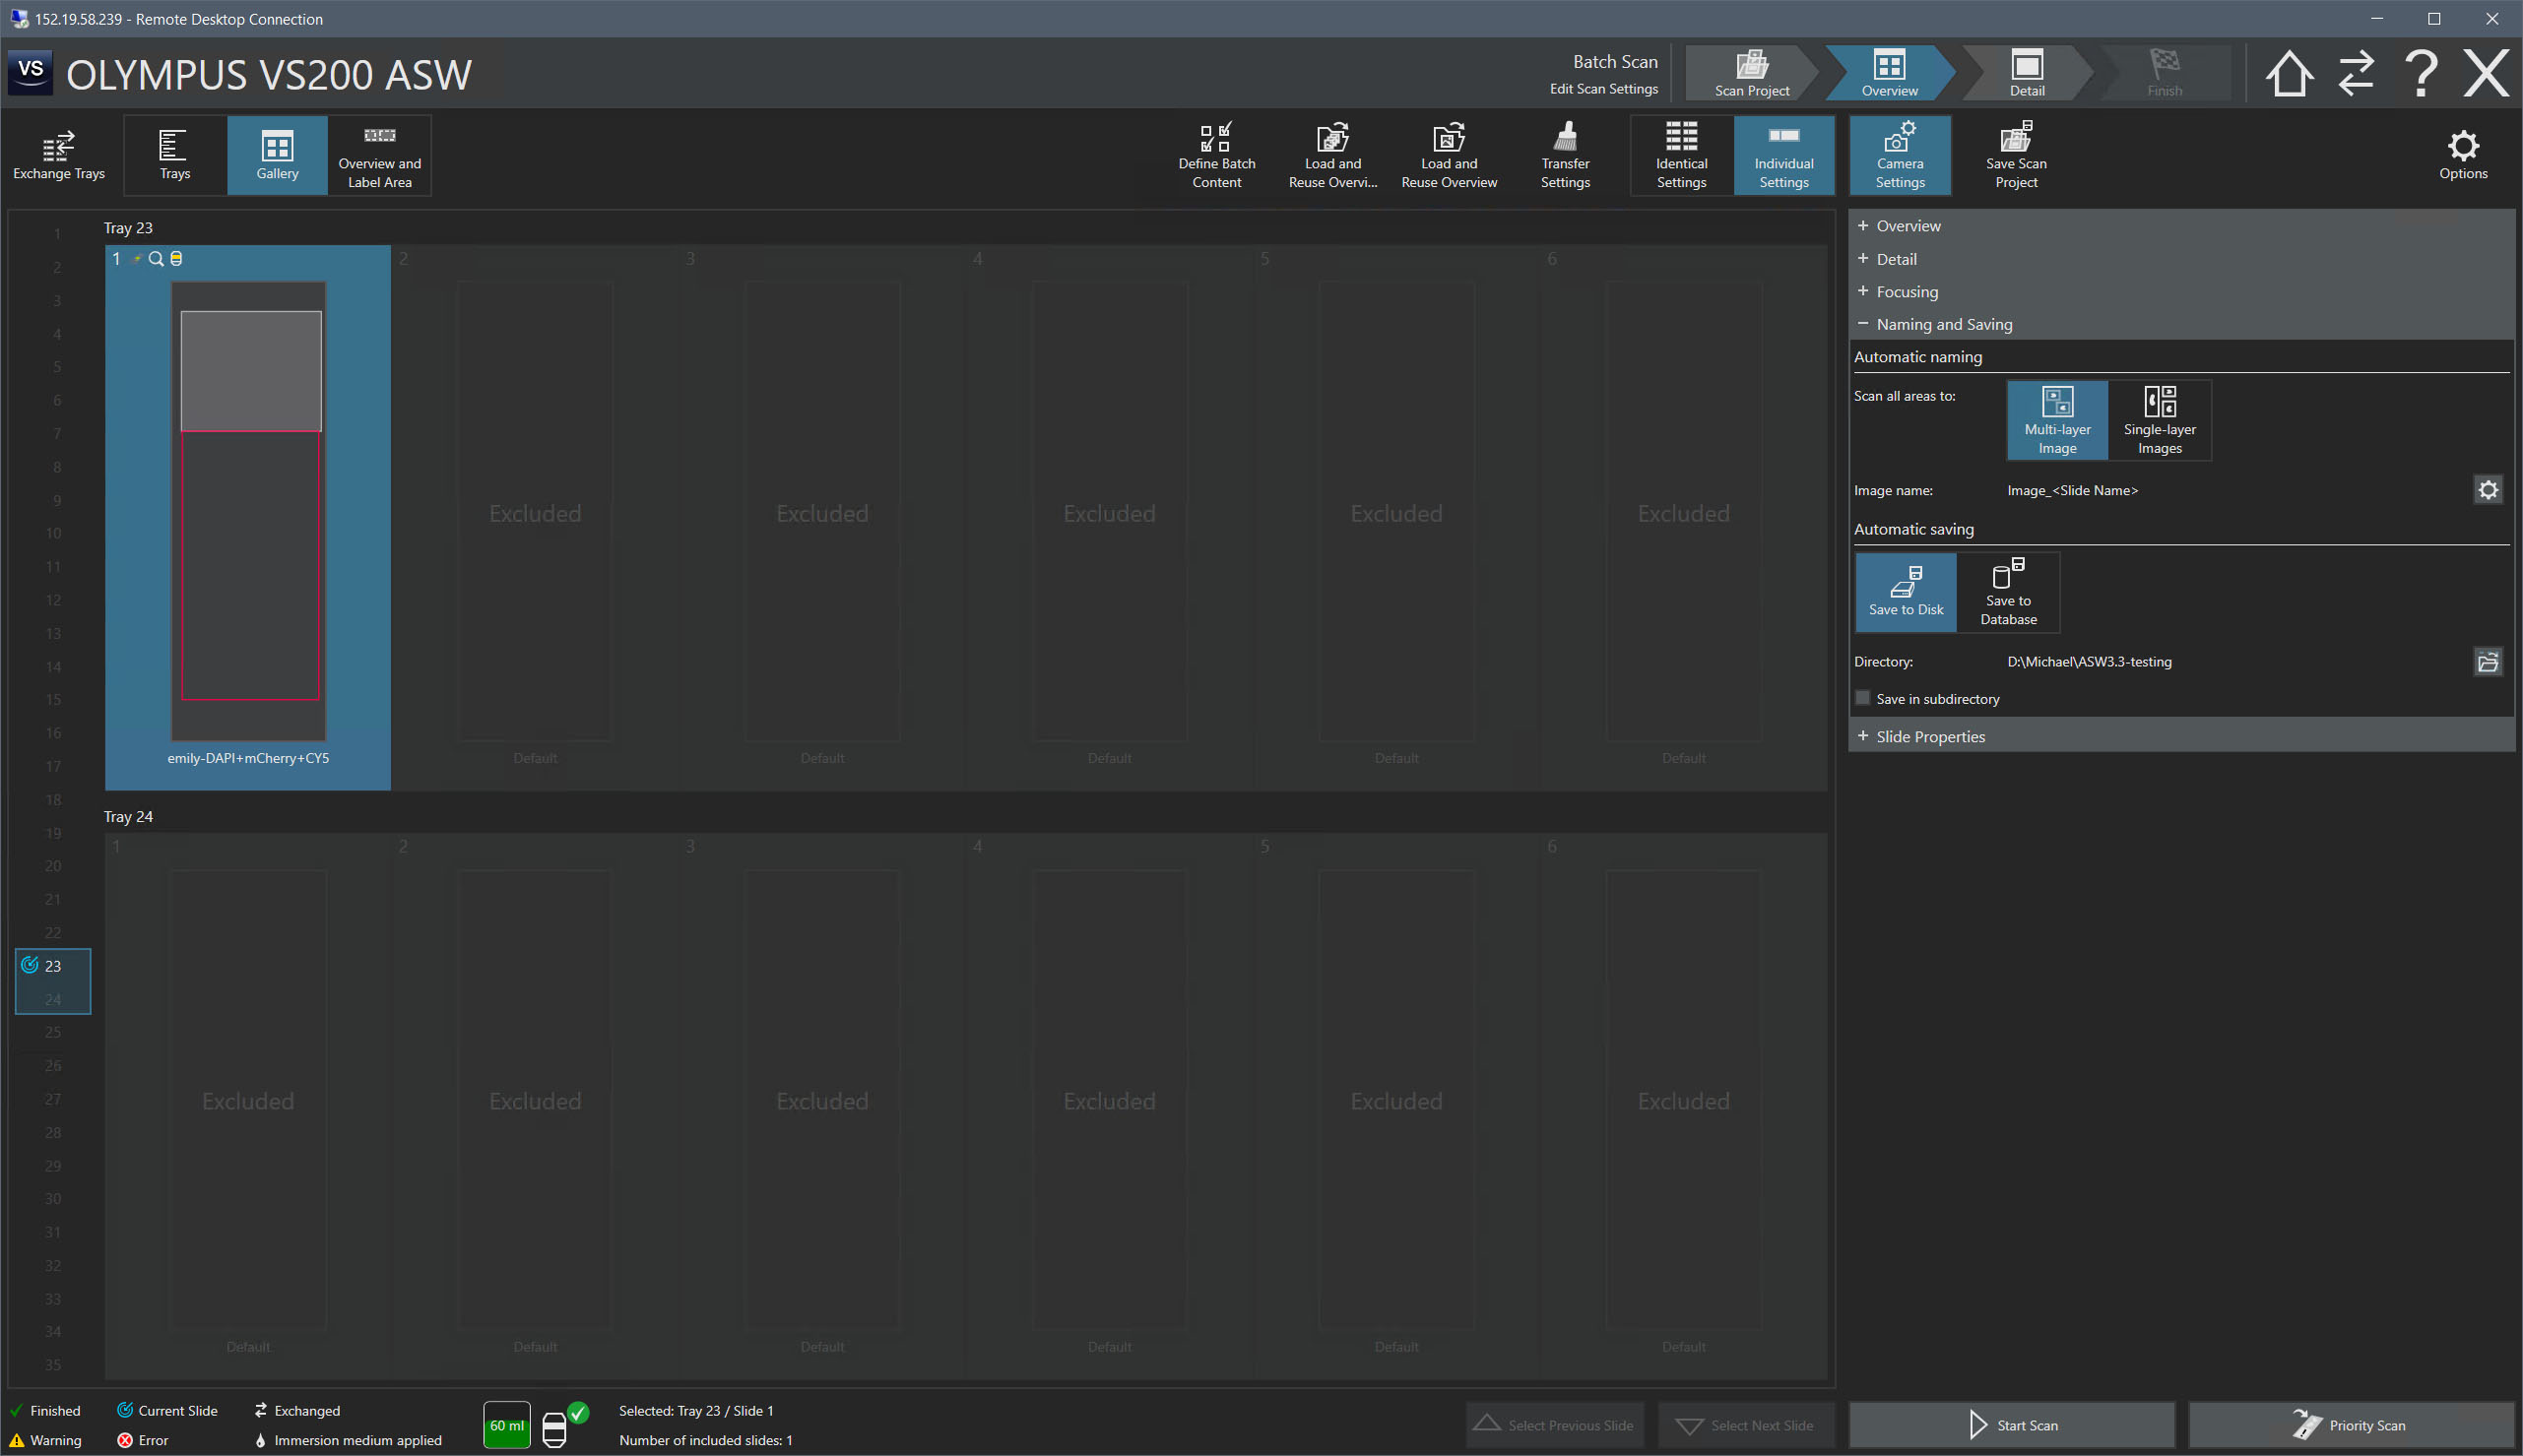 +Naming
and Saving
+Naming
and Saving Image
- brightens image for user view (does not change data)
Image
- brightens image for user view (does not change data)